Simple Stateful Services with CoreOS and AWS
A simple guide how to create a stateful service with CoreOS fleet and AWS volumes. If you need to run a stateful service which does not need to be highly available this guide will get you up to speed.
The goal is to setup a Postgres container writing to an AWS EBS volume. If one host goes down we can mount the EBS volume to a different host and restart the Postgres container. While this is not highly available it is fault tolerant and easy to manage because not many components are involved.
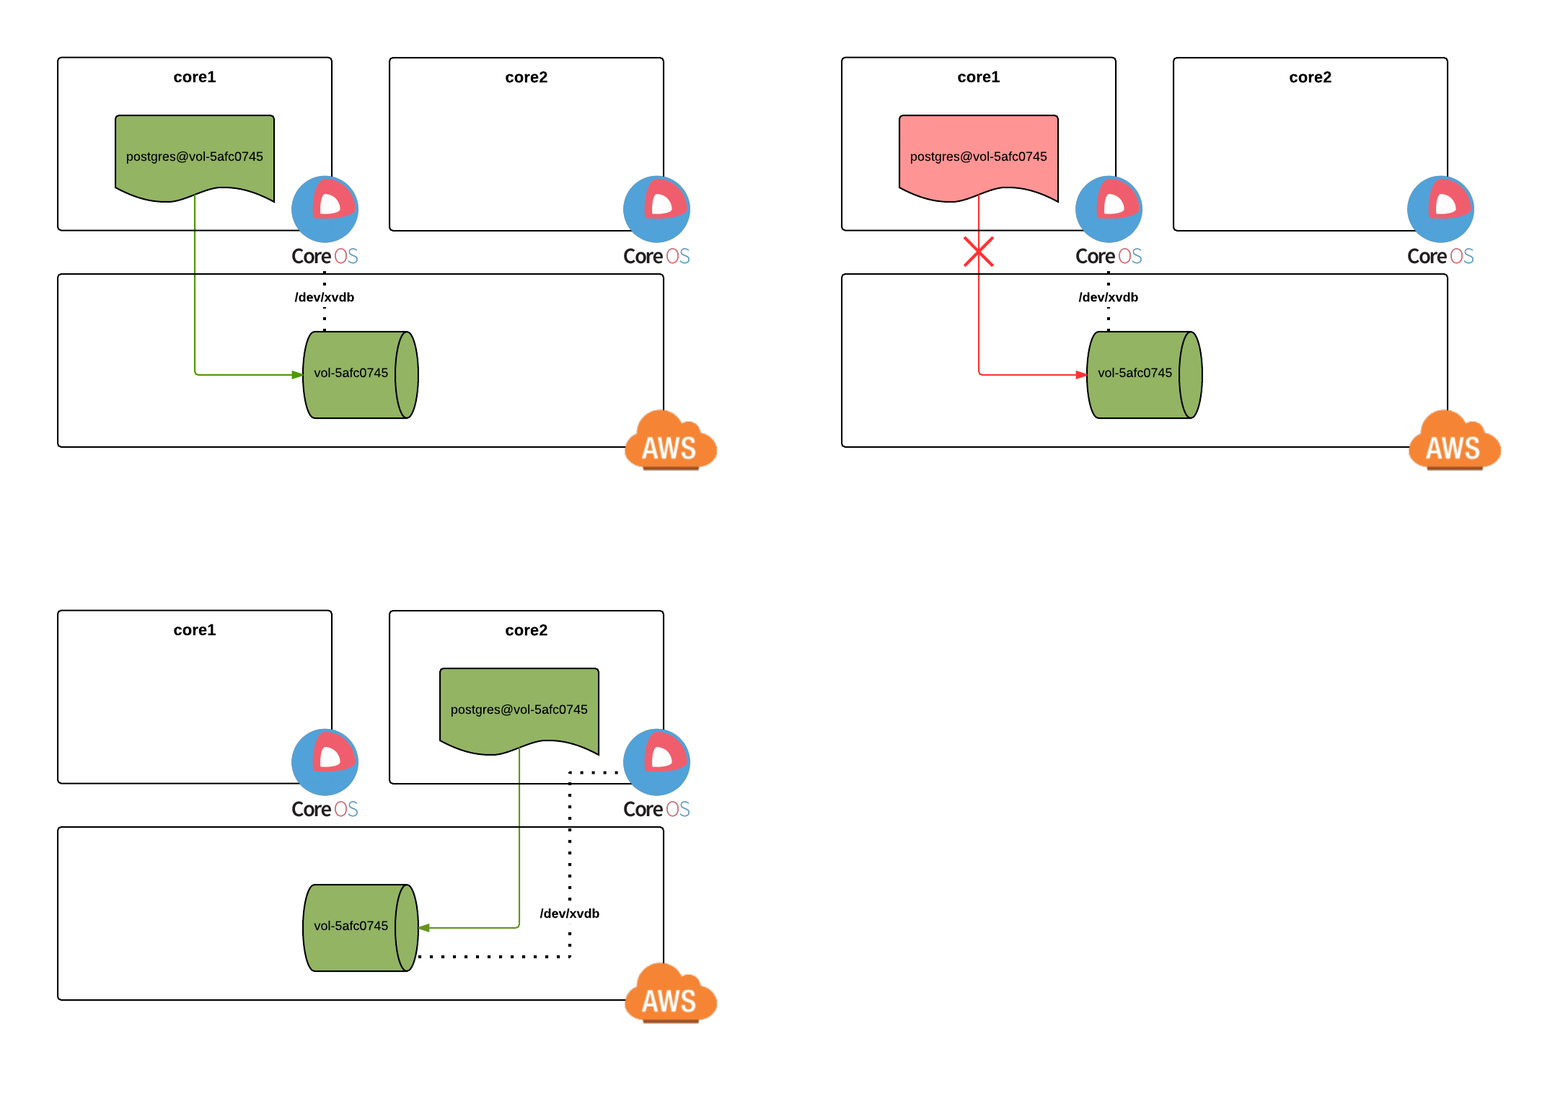
Below you see a visualization of the Postgres
container postgres@vol-5afc0745 running on core1.
The EBS volume vol-5afc0745 is attached to core1 as /dev/xvdb.
Once core1 goes down we need to reattach vol-5afc0745 to
core2 and restart postgres@vol-5afc0745.
Create the Service
You need to create a unit file template postgres@.service.
Inside a template you can use %i to capture the value after the @.
If you start the service postgres@vol-5afc0745.service then the %i specifier
will resolve to vol-5afc0745.
We are using the official postgres image.
This container mounts /data/postgres to the PostgreSQL data directory
and therefore requires the data-postgres.mount unit being activated.
We prevent the unit from being collocated with other PostgreSQL instances
with the Conflicts option because there exists
only one /data/postgres mountpoint.
Because our service is not stateless we cannot schedule it on
every machine. The fleet MachineMetadata option allows us
to constrain the possible machines a service is allowed to run on.
Using the fleet templating feature we restrict this service to run
only on machines with a postgres entry that matches the %i systemd specifier.
I stripped out useful timeouts from the service file below to make it more readable.
[Unit]
Description=PostgreSQL
After=docker.service
Requires=docker.service
After=data-postgres.mount
Requires=data-postgres.mount

[Service]
ExecStartPre=/usr/bin/docker pull postgres:9.4
ExecStart=/usr/bin/docker run --name postgres-%i \
-v /data/postgres:/var/lib/postgresql/data \
-e POSTGRES_PASSWORD=axti31lxb4123xhqaef355hh8ys \
-p 5432:5432 \
-t postgres:9.4

[X-Fleet]
MachineMetadata="postgres=%i"
Conflicts=postgres*
Now we need to create a templated unit. I like to use soft links
to easily reschedule the services.
This templated unit now only runs on EC2 hosts where the
volume vol-5afc0745 has been attached to.
ln -s postgres@.service postgres@vol-5afc0745.service
Create the Volume
In AWS create an empty volume in your availability zone.
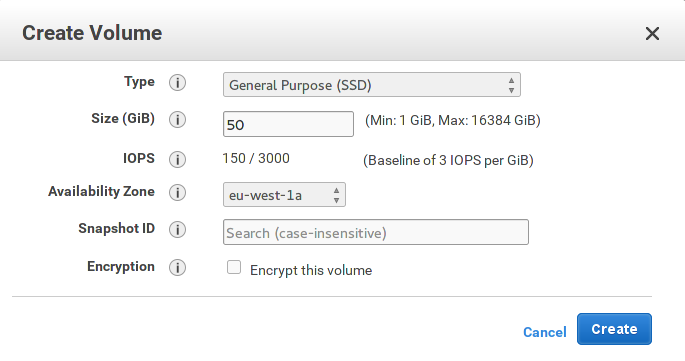
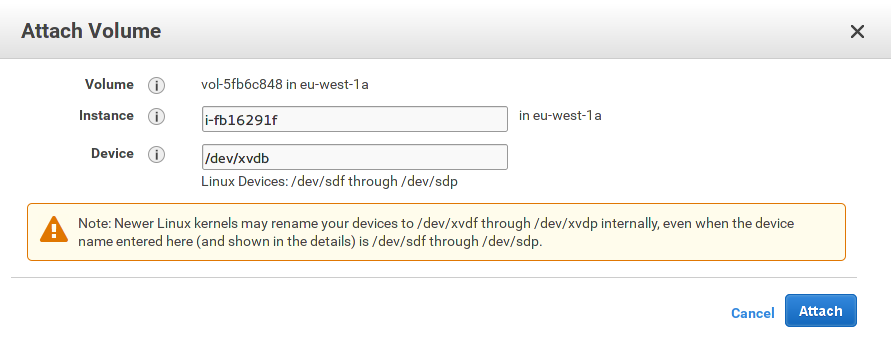
Attach it as /dev/xvdb to the running CoreOS instance.
On the CoreOS instance check whether the volume has been mounted with lsblk.
You should see /dev/xvdb with an empty mountpoint.
NAME    MAJ:MIN RM  SIZE RO TYPE MOUNTPOINT
xvdb    202:16   0   50G  0 disk
Now format the volume with the filesystem of your choice. For this example I will use BTRFS.
mkfs.btrfs -L PostgreSQL /dev/xvdb
Now power down the CoreOS node because we are going to modify the cloud config file.
Modify Cloud Config
You can change the cloud config of a CoreOS machine by changing the user data in AWS.
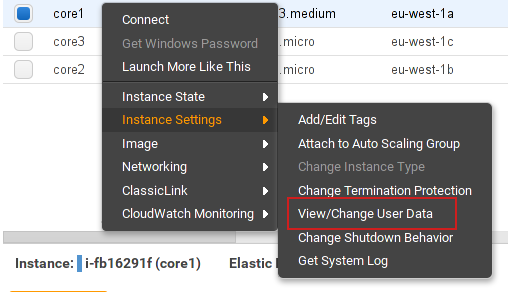
Because we don’t want our stateful service to go down at random we turn off CoreOs automatic updates.
coreos:
  update:
    reboot-strategy: off
Now that we formatted /dev/xvdb we need to mount it at host startup.
The unit needs to be called data-postgres.mount according to the
path it is mounted to.
  units:
    - name: data-postgres.mount
      command: start
      content: |
        [Mount]
        What=/dev/xvdb
        Where=/data/postgres
        Type=btrfs
Now modify the Metadata to let the fleet scheduler know that the volume has been attached.
  fleet:
    metadata: postgres=vol-5afc0745
Now start the Machine and ssh into it after it is ready.
Check whether the data-postgres.mount service is up and running.
systemctl status data-postgres.mount
If you execute lsblk you should see your /dev/xvdb correctly mounted
to /data/postgres.
NAME    MAJ:MIN RM  SIZE RO TYPE MOUNTPOINT
xvdb    202:16   0   50G  0 disk /data/postgres
Check if the metadata is set correctly with fleetctl list-machines.
You should see your machine with the attached volume name as metadata.
MACHINE         IP              METADATA
8886bfe9...     10.0.1.72       vol-5afc0745
Run Service
Now start the PostgreSQL service and watch it startup successfully.
fleetctl start postgres@vol-5afc0745
fleetctl journal --follow postgres@vol-5afc0745
You might want to register the PostgreSQL server into etcd so other services can query it.
ExecStartPost=/usr/bin/etcdctl set /postgres/host ${COREOS_PRIVATE_IPV4}
ExecStartPost=/usr/bin/etcdctl set /postgres/port 5432
ExecStopPost=/usr/bin/etcdctl rm --recursive /postgres
Make sure your security group allows inbound connections for port 5432.
Query Database
We can now spin up a dev tools container and connect to our database.
docker run --rm -it dreipol/ops-tools
Using the docker image dreipol/ops-tools you can use the excellent pgcli
to connect to your PostgreSQL server.
pgcli -h 10.0.0.230 -U postgres
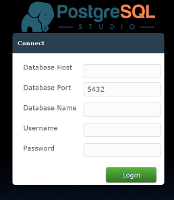
If you don’t like the terminal you can use my pgstudio container for a graphical interface.
docker run --rm -p 8080:8080 lukasmartinelli/pgstudio
Use Service
If you have other apps using your stateful service you can now query the information from etcd. Below is an example of a Django container connecting to our PostgreSQL server.
docker run --rm -m 256m --name django-app \
-e DB_NAME=django_app \
-e DB_USER=postgres \
-e DB_PASSWORD=axti31lxb4123xhqaef355hh8ys \
-e DB_HOST=$(etcdctl get /dreicloud/postgres/host) \
-e DB_PORT=$(etcdctl get /dreicloud/postgres/port) \
-p 6001:8000 -t random/django-app:latest
Conclusion
Advantages over traditional setup:
- Allows you to schedule a stateful service in your existing CoreOS cluster
- No need for deployment tools like Puppet or Ansible.
- Easy failure recovery and backups with EBS snapshots
- All Docker advantages like easy installation of newer or older versions
Next steps:
You now know the basics of creating stateful service on CoreOS. There are alot of other options like the recently announced AWS EFS or Flocker. For higher availability you might also reattach volumes automatically once the Postgres container starts up. Or you might also create daily database backups explained here.
